
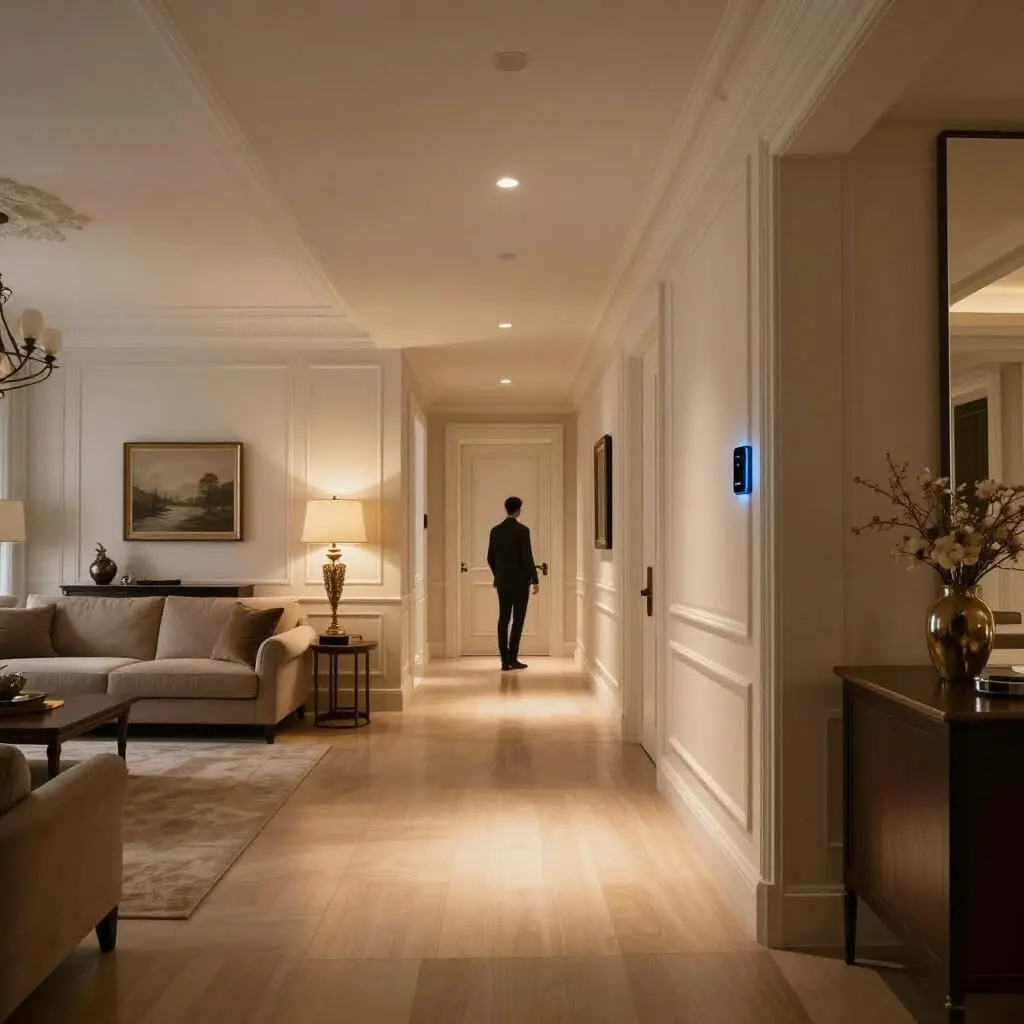
How to Automate Your Home Lighting
- Indoor lighting automation relies on three pillars: detection (motion/presence), scheduling, and remote control via a smart hub or app.
- PIR motion sensors are the most affordable way to automate hallways, stairs, or bathrooms without replacing switches or performing major renovations.
- Smart bulbs (Wi-Fi or Zigbee) and in-wall micro-modules enable advanced scenarios: dimming, color changes, and presence simulation.
- Homeowners can significantly reduce energy bills by pairing light sensors with timers without sacrificing comfort.
- The choice of protocol (Zigbee, Wi-Fi, Z-Wave) determines the long-term reliability and scalability of the installation.
Automating your home lighting means ensuring that lights turn on, off, or adjust themselves without anyone needing to flip a switch. In practice, this relies on three technologies that can be used separately or combined: motion or presence sensors, scheduling (often tied to sunrise and sunset), and control via a smart hub or smartphone app. For beginners, entry-level options include plug-in motion sensors starting at a few dozen dollars, requiring zero installation work. For those seeking more—such as dimming, color shifts, or integrated smart home scenarios—smart bulbs or micro-modules installed behind wall switches and managed by a central hub are the way to go. This guide details the available solutions, their costs, installation constraints, and common mistakes to avoid when setting up sustainable indoor lighting automation.
Why Automate Your Indoor Lighting?
Lighting automation addresses three practical needs common to every household: comfort, security, and energy efficiency. First, comfort is the luxury of having lights turn on automatically when you enter a hallway with arms full of groceries, or in a child’s room at night without having to fumble for a switch in the dark. Second, security involves both fall prevention—illuminating stairs or bathrooms the moment presence is detected significantly reduces risks, especially for the elderly or young children—and deterring intruders through “presence simulation” scenarios while you are away.
The third benefit, while less visible, is reflected in your utility bills: energy savings. A light left on in an empty room is avoidable waste; a motion sensor paired with a short timer (20 to 90 seconds, depending on the room) eliminates this waste without human intervention. It is no coincidence that home improvement stores and electrical manufacturers now market these products as energy-saving devices as much as comfort gadgets.
Finally, automating indoor lighting is often the first step in a larger smart home project. It is simple to implement, and the benefits are immediate and visible, making it a logical starting point before moving on to smart heating, motorized blinds, or automated irrigation. It also requires the least technical skill to start: a standalone motion sensor can be set up in minutes with no wiring or complex configuration.
Motion and Presence Sensors: The Most Accessible Solution
The Passive Infrared (PIR) motion sensor remains the most common entry point for automatic indoor lighting. The principle is simple: a sensor detects body heat moving within its field of vision (typically 3 to 8 meters depending on the model) and triggers the light for a set duration before automatically turning it off. These devices generally come in three forms: standalone battery-powered LED nightlights for stairs and halls, ceiling fixtures with integrated sensors, and adapter modules that screw between a bulb and an existing socket, turning any light point into an automated one without extra wiring.
There is an important technical distinction between a motion sensor and a presence sensor. A motion sensor reacts to broad movements and is best suited for transition areas—hallways, entries, stairs—where it triggers the light upon entry and turns it off once the area is vacated. A presence sensor is more sensitive; it detects micro-movements and is better suited for an office or a room where you remain relatively still, preventing the lights from turning off while you are working.
The main drawback of these standalone solutions is their binary logic: they are either on or off, with no dimming or personalized scenarios based on the time of day or ambient light. For more nuanced automation—such as dimmed lights at night and full brightness during the day—you will need connected solutions capable of analyzing multiple parameters before triggering an action.
Light Sensors and Scheduling
Beyond motion, ambient light is a frequent trigger for automation. A dusk-to-dawn sensor (or photocell) measures natural light levels and triggers the lights when they drop below a defined threshold, turning them off when daylight returns. When combined with a motion sensor, this prevents lights from turning on unnecessarily during the day; a hallway crossed at noon doesn’t need artificial light if the sun is already providing enough.
Scheduling is the third approach, independent of any sensor. This involves setting fixed time slots (on at 7 PM, off at 11 PM) or relative slots based on the sun (on 30 minutes before sunset, off at sunrise). The latter is more effective throughout the year but requires the system to know the home’s geographic location to automatically calculate sunrise and sunset times, which vary by several hours between summer and winter. Most modern smart hubs and smart bulbs integrate this calculation, removing the need for manual seasonal adjustments.
The real power comes from combining these three logics—motion, light, and schedule. For example, you can program your living room lights to turn on via motion only if the outdoor light is low AND the time is between 6 PM and midnight. This avoids accidental triggers during the day or in the middle of the night if someone gets up briefly. This type of conditional rule—”If [this], then [that]”—is what separates simple automatic lighting from truly intelligent lighting.
Smart Bulbs, Micro-modules, or Smart Switches?
Three product families allow you to connect existing lighting without necessarily using a physical sensor. The first and most visible are smart bulbs: they screw into standard sockets, are controlled via an app or hub, and offer dimming, color temperature adjustment, or RGB colors. Their advantage is ease of installation; their limitation is that the wall switch must remain in the “On” position, or the bulb loses power and connectivity—a point often overlooked by beginners.
The second family, micro-modules, is installed behind the existing switch in the wall box. This requires electrical work (usually handled by an electrician if the user isn’t comfortable with the electrical panel) but has the major advantage of keeping the wall switch functional alongside the automation. This is the recommended solution when you want to automate lighting without disrupting the habits of other household members, such as children or elderly relatives who prefer a physical switch.
The third option, the smart switch, replaces the wall switch entirely with a communicating model without changing the bulbs. This is ideal for light renovations where you want to keep standard bulbs but gain remote control and scheduling. The choice between these three depends on the level of intervention you are willing to accept: no wiring for smart bulbs, and moderate electrical work for micro-modules and smart switches.
Choosing Your Protocol and Smart Hub
The communication protocol determines the reliability, range, and scalability of your setup. Wi-Fi, built into many consumer bulbs and plugs, has the advantage of requiring no additional hub: the device connects directly to your router. However, its limit appears when you have many connected devices; each consumes bandwidth and can saturate the home network or slow down the responsiveness of your scenarios.
In contrast, Zigbee and Z-Wave operate on low-energy mesh networks independent of Wi-Fi and require a gateway (smart hub) to communicate with a smartphone. Their primary advantage is reliability: every connected device strengthens the network by acting as a relay for others, limiting dead zones in multi-story homes. This is the preferred choice for an installation intended to grow over time with dozens of light points.
Brands like Somfy, Delta Dore, or Bosch Smart Home offer closed ecosystems that are consistent and easy to use, allowing you to control lighting alongside shutters, heating, or alarms from a single app. More open solutions like Home Assistant or Jeedom allow you to mix different brands and write custom scripts, though they require more technical expertise. For those new to indoor lighting automation, a guided, closed ecosystem is generally the simplest starting point, with the option to migrate to an open solution as needs evolve.
Creating Tailored Lighting Scenarios for Every Room
Once the hardware is in place, the value of automation lies in the relevance of the scenarios configured for each room. In a hallway or stairwell, the most effective rule is motion detection with automatic shut-off after a short delay (20 to 60 seconds), potentially conditioned by low ambient light to avoid daytime activation. In a bathroom, a more sensitive presence sensor prevents the lights from turning off while you are in the shower, where movement is limited.
In the living room or bedroom, the logic shifts: predefined “scenes” are usually better than total automation. A “Reading” mode with targeted warm light or an “Evening” mode with dimmed lighting throughout the room can be triggered by voice command, an app, or a physical button rather than a sensor. The bedroom also benefits from a “Wake-up” scenario, where light intensity increases gradually over several minutes before the alarm goes off, simulating a natural sunrise.
One cross-functional scenario deserves special mention: presence simulation during long absences. This involves programming several lights to turn on and off randomly at varying times each day to give the impression that the house is occupied. Easy to configure on most hubs, this is one of the most cited reasons for investing in connected lighting.
Budget and Installation Steps
The cost of an indoor lighting automation project varies greatly depending on your ambition. For targeted automation of a hallway or stairs with a simple standalone motion sensor, the budget is modest—a few dozen dollars per light point—with no technical skills required. For a full installation covering multiple rooms with smart bulbs, a hub, and sensors, the cost increases based on the number of bulbs, with the smart hub often being the most significant initial investment.
The most effective way to avoid surprises is to proceed in stages. A pragmatic first phase is to identify the two or three rooms where automation provides the most immediate benefit—typically the entry, hallway, and bathroom—and install simple motion sensors. This allows you to get used to timer and sensitivity settings before investing in a larger ecosystem.
The second phase, once a hub is chosen, involves gradually connecting other rooms with compatible bulbs or micro-modules. Ensure brand consistency to limit interoperability issues. It is highly recommended to check the compatibility between products and your chosen hub before purchasing, as some closed ecosystems only accept their own range of sensors and bulbs.
Common Mistakes to Avoid
The first mistake is undersizing the timeout on motion sensors, leading to frustrating “blackouts” while you are still active—typically in an office or bathroom where you remain relatively still. Conversely, a timeout that is too long cancels out the energy savings. You should test and adjust these settings over a few days of real use rather than relying on the manufacturer’s default values.
The second mistake, common with smart bulbs, is forgetting that the wall switch must stay “On” for the bulb to remain reachable. A household member who flips the switch out of habit disconnects the bulb and invalidates all associated programming. This constraint makes micro-modules a better choice for multi-person households with varied habits.
The third mistake is mixing protocols without verifying compatibility: pairing Wi-Fi, Zigbee, and Z-Wave products without a hub capable of bridging them results in multiple separate apps and no possibility for shared scenarios. Finally, avoid trying to automate everything at once. Focus your efforts on areas where automation provides a real, measurable benefit—such as nighttime safety or energy savings in transition areas—rather than cluttering every room with sensors when a classic switch is sufficient.
Security, Data, and Privacy
Indoor lighting automation, when relying on a hub connected to the internet, raises cybersecurity and privacy questions. The first step should always be to change the default passwords for the hub and the Wi-Fi network—a step often ignored, yet it is the primary entry point for unauthorized access. The second step is to keep the firmware of the hub and devices updated, as manufacturers regularly release security patches.
Regarding privacy, keep in mind that your presence and absence patterns, deduced from lighting schedules, are sensitive data if accessible to third parties. Closed ecosystems from major home appliance and smart home brands generally follow GDPR (European data protection) regulations, but it is still worth checking whether presence data is processed locally (on the hub, inside the home) or transmitted to a remote server.
Finally, in the event of an internet outage, it is preferable to choose products capable of “local control.” This ensures that basic scenarios—like motion detection and scheduled shut-offs—continue to function even if your connection goes down, a feature not guaranteed by all entry-level products.
How can I automate lighting without changing my switches?
Simply install a battery-powered standalone motion sensor or a smart bulb in the existing socket. However, the wall switch must remain in the “On” position for the smart bulb to stay connected and controllable.
What is the difference between a motion sensor and a presence sensor?
A motion sensor reacts to broad movements and is ideal for transition areas like hallways. A presence sensor is more sensitive, picking up micro-movements to prevent the lights from turning off in a room where you are sitting still, such as an office.
Which protocol should I choose for a scalable home lighting system?
Zigbee or Z-Wave offer a more reliable mesh network that is independent of your home Wi-Fi, making them better for installations with many light points. Wi-Fi is sufficient for a few isolated devices.
Do I need a smart hub to automate my lighting?
Not for a simple standalone motion sensor. However, a hub becomes necessary once you want to combine multiple conditions (time, light level, presence) or control lighting alongside other devices like shutters or heating.
Does automatic lighting actually save energy?
Yes, primarily by preventing lights from staying on in empty rooms or during the day, thanks to the combination of motion sensors and light sensors that only trigger lighting when natural light is insufficient.
Can I automate lighting to simulate presence while on vacation?
Yes, most smart hubs and bulb apps offer a “presence simulation” mode, which turns lights on and off at random intervals to deter intruders during a long absence.
Do smart bulbs work without internet?
It depends on the model. Some execute basic scenarios locally without a connection, while others rely entirely on a remote server. Check this before buying if you want guaranteed continuous operation.
How much does it cost to automate a hallway or staircase?
A simple standalone motion sensor or a PIR-sensor nightlight is the most economical solution, requiring no wiring or hub to automate a single light point.
Sources
- Smart Home Lighting – Bosch Smart Home
- Presence Sensors: The Guide to Intelligent Automatic Lighting – Eclairage Design
- Automating Outdoor Lighting with Sensors and Twilight Scenarios – Domotique Facile
- Connected Lighting, Intelligent Lighting – ENKI

D'autres conseils Electrical Systems & Smart Home
 →
Smart Home Guide: How to Start Your Automation Journey
Start your smart home journey: a complete guide to choosing your first devices, starting budgets, and easy DIY installation.
Lire l'article → →
Replacing Your Electrical Panel: When Is It Necessary?
Learn when to replace your electrical panel: signs of wear, non-compliance, and safety risks. A complete guide to costs and electrical standards.
Lire l'article → →
Smart Home Installation Cost: 2026 Price Guide & Budget
Planning a smart home? Discover installation costs from €200 to €20,000 for new builds or existing homes. Our complete 2026 guide covers everything.
Lire l'article → →
Smart Home Guide: How to Fully Automate Your House
Learn how to build a truly smart home: protocols, automation tips, budget, and essential gadgets to get started the right way.
Lire l'article →