

Add Electrical Outlets Without a Full Rewire: Methods That Work
- Daisy-chaining allows you to add an outlet in just a few hours using an existing one, without affecting the rest of the circuit.
- Surface-mounted trunking avoids the need to drill into walls and runs wiring directly to the new connection point.
- Junction boxes are the most standard method for adding multiple outlets from a single point on a circuit.
- Adding a ground wire where it is missing requires pulling a new conductor, not just swapping the faceplate.
- Budget: Expect to pay between $40 and $170 per outlet depending on the method used and whether you hire a professional.
You’ve run out of outlets in the living room, kitchen, or home office, but the idea of a full electrical overhaul is daunting—and rightly so. A full renovation means construction, dust, and a four-figure budget. The good news is that in most cases, adding one or more outlets doesn’t require tearing down walls or redesigning your entire breaker box. Three main techniques cover almost every need: daisy-chaining from an existing outlet, using surface-mounted trunking (raceways), and using a junction box to serve multiple points. There is one specific scenario that often causes confusion: if your original installation lacks a ground wire, simply adding an outlet won’t solve the safety issue until a protection conductor is actually brought to the new point. This guide breaks down every method.
Daisy-Chaining: The Simplest Way to Add an Outlet
Daisy-chaining—also known as jumpering—involves extending the wiring from an existing outlet to power a new one nearby. The principle is straightforward: the live, neutral, and ground wires from the existing outlet are doubled up using wire nuts or connectors (like Wago connectors), then extended to the new location via recessed conduit or surface-mounted trunking.
This method works exceptionally well when the new outlet is within a few feet of an existing one on the same wall or in an adjacent room. Before starting, you must turn off the corresponding breaker at the main panel, verify there is no voltage using a multimeter, then strip and connect the three conductors following standard color codes (typically black/red for live, white for neutral, and green/bare for ground).
The main limitation of daisy-chaining is the circuit load. Electrical codes generally limit the number of outlets per circuit to prevent overloading. If the circuit already powers high-draw appliances (like an oven, cooktop, or dryer), adding another outlet could trip the breaker or, worse, cause the wires to overheat. Daisy-chaining also assumes the starting outlet already has a functional ground; it cannot create a protective ground wire where one doesn’t exist upstream.
Surface-Mounted Trunking: Zero Drilling for Fast Results
When you want to avoid drilling into walls or dealing with plasterwork afterward, surface-mounted trunking (or raceways) is the most common solution for light renovations. This consists of a PVC profile fixed to the surface via adhesive or screws, which hides the wiring as it runs from an existing outlet or junction point to the new location. Specialized outlet blocks can clip directly into the trunking, eliminating the need to cut into the drywall.
Installation happens in three steps: fix the trunking base along the chosen path (along a baseboard, in a corner, or under a molding), run the cables through the inside, and then clip on the cover and the outlet. If using adhesive, the connection is usually secure within 15 to 30 minutes depending on the glue and temperature, but full strength is only reached after 24 hours—a delay you should respect before applying pressure to the trunking or placing furniture against it.
The primary advantage of this method is its reversibility: it is ideal for renters (subject to landlord approval) and DIYers with limited experience, allowing the installation to be easily modified if needs change. Manufacturers now offer various finishes—white, grey, or wood-imitation—that blend into baseboards, moving far beyond the look of a cheap, messy white tube.
Using a Junction Box to Serve Multiple Outlets
When your needs go beyond a single extra outlet—such as equipping a kitchen countertop or a workshop bench with several power points—a junction box becomes the go-to tool. It connects to an existing circuit and then distributes power to several downstream outlets, each connected by its own cable.
There are several formats available: surface-mount boxes for quick installations; flush-mount boxes, which are more discreet but require cutting into the wall; and waterproof versions (IP55 or higher) for wet areas or outdoor installations. Inside, conductors are connected via terminals or wire nuts, with the ground wire systematically connected to all outgoing lines.
One important regulatory point: a junction box must remain accessible after installation. It is prohibited to bury a junction box inside a wall or ceiling without an access panel; this ensures that future inspections or repairs can be made without tearing the wall open. Many DIYers make the mistake of trying to hide them completely, but using trunking or a removable drop ceiling is a better way to balance aesthetics with accessibility.
Adding a Grounded Outlet Without a Full Rewire
This is the most misunderstood scenario: in older homes built before grounding was mandatory, many circuits simply have no protection conductor in the walls. Replacing an old two-prong outlet with a modern three-prong grounded model changes nothing if the third wire doesn’t exist upstream—the ground pin will remain unconnected, providing a false sense of security.
The real solution involves running a dedicated ground wire from the point in question back to an existing grounding point or the main electrical panel, without having to replace the entire house’s wiring. This additional wire can run through the same trunking as the live and neutral wires, limiting the work to the specific room rather than the whole house. In certain cases, such as isolated buildings or outbuildings, installing a local ground rod paired with a dedicated 30mA RCD (or GFCI) can safely secure a specific point without tapping into the main grounding network.
An ungrounded outlet isn’t necessarily an immediate danger in daily use, but it significantly reduces the safety margin in the event of an insulation fault in an appliance, especially in “wet” rooms like kitchens, laundry rooms, or bathrooms. In these areas, you should prioritize adding a real ground connection rather than relying on an adapter, which offers very limited protection and is no substitute for a proper conductor.
Temporary Solutions Without Drilling
For one-off needs—like a living room that lacks enough outlets for a lamp, chargers, and a TV—it isn’t always necessary to add a permanent fixture. Surge-protected power strips with multiple outlets and integrated USB ports cover most common uses without any electrical intervention. Removable power tracks, which can be discreetly mounted under a countertop or along a desk, offer several rotatable outlets without the need for new wiring.
However, these are temporary workarounds, not permanent replacements for a wall outlet. Never “daisy-chain” multiple power strips together to artificially increase the number of outlets: this concentrates the electrical load on a single cord and a single connection point, creating a very real risk of overheating if several high-draw devices are plugged in simultaneously. These temporary setups are fine for low-consumption electronics, but not for space heaters or appliances used frequently.
How Much Does it Cost to Add an Outlet?
The budget varies significantly based on the method chosen and whether you do the work yourself or hire a professional. For a simple outlet added via daisy-chaining, expect to pay an average of $40 to $100 in labor, depending on the complexity of the route and the type of finish (recessed or surface-mounted).
When the work is part of a larger renovation involving longer runs or difficult access, the price generally rises to between $60 and $170 per outlet, including standard materials. Surface-mounted trunking remains the most economical option for a DIYer: the materials (profile, outlet, connectors) often cost only a few dozen dollars per linear foot, meaning the main “cost” is your time rather than the supplies.
Adding a ground wire where one is missing will increase the bill, as it requires pulling an extra cable along the entire path rather than just doubling up existing wires. Nevertheless, this extra cost is negligible compared to a complete home rewiring, which involves a new breaker panel, full code compliance, and often expensive certification.
Electrical Standards to Follow
Adding one or two outlets does not exempt you from following local electrical codes. Practically, this means verifying that the target circuit isn’t overloaded—most standard 15A or 20A circuits have a limit on how many outlets they can safely serve. Additionally, any new outlet installed in a home should include a connected ground pin; two-prong ungrounded outlets are no longer permitted for new installations, even as replacements.
In bathrooms, the rules are even stricter: codes require outlets to be installed outside of the specific “safety zones” around tubs or showers, at specific heights from the floor. Adding an outlet in a bathroom without respecting these distances—even via simple trunking—poses a genuine safety risk and is a major code violation.
Finally, even a modest extension must be consistent with the capacity of the upstream circuit breaker: plugging several new outlets into a circuit that is already near its limit will eventually lead to repeated tripping or overheating conductors if the protection isn’t functioning correctly.
When to Call an Electrician Instead of Going Solo
Daisy-chaining, trunking, and junction boxes are all accessible to a cautious DIYer who systematically cuts the power and verifies connections. However, certain situations require a professional: installations still using old-fashioned porcelain fuses rather than modern breakers, a total absence of a visible ground wire in the panel, or any doubt regarding the actual load on an aging circuit.
Wet areas are another case where you shouldn’t improvise: kitchens with water sources nearby, laundry rooms, or bathrooms. An electrician can also provide a full electrical diagnostic if your home was built before the 1990s, helping you determine if a few extra outlets are enough or if a broader electrical upgrade is necessary in the medium term. Getting a professional check-up before you start often prevents the headache of discovering an underlying problem once the walls are already open.
How do I add an outlet if there is no ground wire?
You must run a dedicated ground wire to the new point, routing it through the same trunking or conduit as the live and neutral wires, rather than simply replacing the faceplate.
Is an ungrounded outlet dangerous?
It is not immediately dangerous during normal use, but it reduces the safety margin in case of an insulation fault in an appliance, especially in wet rooms like kitchens or bathrooms.
How much does it cost to add an electrical outlet?
Generally, expect between $40 and $100 for a simple outlet added by daisy-chaining, and up to $170 for more complex renovation work, including labor.
Can I daisy-chain an outlet myself without an electrician?
Yes, provided the circuit already has a functional ground and is not overloaded, as long as you turn off the breaker, verify the absence of voltage, and respect proper wire color coding.
How many outlets can be added to the same circuit?
Electrical codes limit the number of outlets per circuit based on the breaker amperage and wire gauge to prevent overloading; beyond a certain point, a new dedicated circuit must be created.
Is surface-mounted trunking allowed in rentals?
Yes, in most cases, because it is fixed to the surface without damaging the wall structure, but it is always best to inform your landlord before installing it via adhesive or screws.
Do I need a specific RCD/GFCI for a ground added via a local ground rod?
Yes, when using a local ground rod rather than the main equipotential bonding, a dedicated 30mA RCD or GFCI is necessary to ensure effective protection for that circuit.
Sources
- Cost to install an electrical outlet in 2026
- Cost and quotes for installing electrical outlets during renovation
- Installing surface-mounted trunking based on the surface type
- Bathroom electrical standards, what does the code say
- Junction box: what is it for and how to install it
- Ungrounded outlet: is it dangerous, what does the code say

D'autres conseils Electrical Systems & Smart Home
 →
Home Lighting Automation: Complete Guide & Easy Tips
Learn how to automate your home lighting using PIR sensors and smart bulbs to increase comfort and save energy. A practical smart home guide.
Lire l'article → →
Smart Home Security: The Complete Guide
Learn how to secure your home with smart technology. From cameras to smart locks, discover all the essential devices for a safer connected home.
Lire l'article →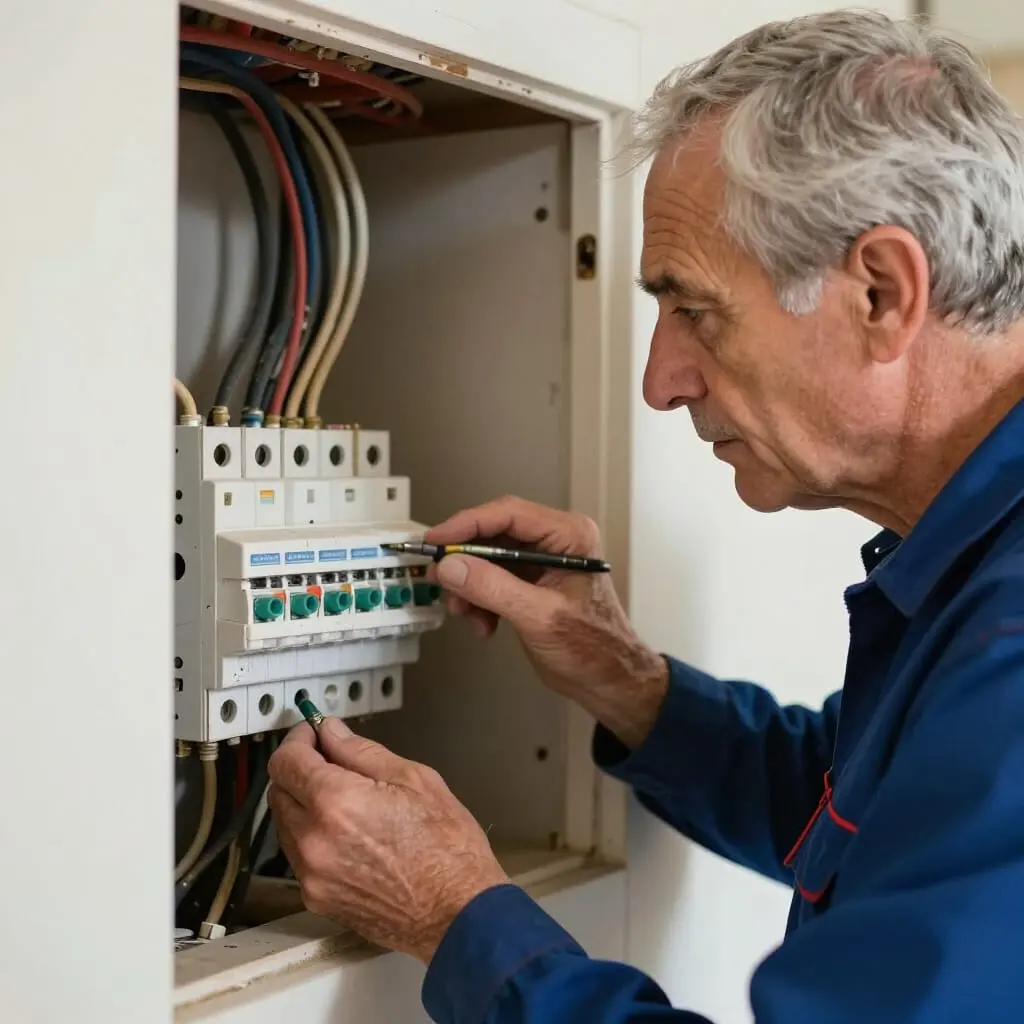 →
5 Warning Signs of a Dangerous Electrical Installation
Learn how to spot a dangerous electrical installation: tripping breakers, blackened outlets, and exposed wires. Essential safety tips and advice.
Lire l'article → →
Smart Heating: Save Money & Boost Comfort | Complete Guide
Save 12-18% on annual heating costs while increasing home comfort. Discover our complete guide to smart thermostats, valves, and expert tips.
Lire l'article →