How to Stop Heat Loss in Your Home?
- Roofs account for up to 30% of heat loss in poorly insulated homes, followed by walls (20–25%) and windows (10–15%).
- Thermal bridges—breaks in insulation continuity—can cause 5% to 20% of total heat loss on their own.
- Connected temperature sensors and thermal cameras allow you to precisely locate leaks before starting any renovation work.
- Attic insulation remains the most cost-effective project, outperforming wall, window, or air-sealing upgrades.
- A smart thermostat paired with smart thermostatic radiator valves (TRVs) limits waste caused by poorly adjusted room-by-room heating.
A house that leaks heat forces your heating system to work constantly to compensate, which directly impacts your energy bills. To stop heat loss, you must first identify where it is escaping: roofs, walls, windows, floors, and thermal bridges each require different solutions. The best approach is to precisely diagnose leak zones—using visual inspection, professional diagnostics, or smart sensors—before proceeding with insulation, air sealing, and ventilation optimization. This guide details the causes, detection tools, and the most effective ways to lower your home’s thermal losses.
What exactly is heat loss?
Thermal loss refers to the amount of heat that passes through a building’s walls to the colder exterior. This transfer follows a simple physical law: heat always moves from a warm environment to a cold one, and this movement never stops as long as there is a temperature difference between the inside and the outside. The larger this gap—such as during the peak of winter—the more intense the outward flow of heat becomes.
Technically, every surface (wall, roof, window, floor) has a thermal transmittance coefficient, known as the U-value, expressed in W/m²·K. The higher this coefficient, the more easily heat passes through the surface. Total heat loss is calculated based on the surface area, this U-value, and the temperature difference between the two sides. For instance, an old, uninsulated wall can have a U-value three to five times higher than a wall insulated to modern standards.
This phenomenon is about more than just comfort. A home that loses heat too quickly forces the heating system to run longer and harder to maintain a stable temperature, mechanically increasing energy consumption. In older, poorly insulated homes, losses can reach extremely high levels across the entire building envelope, including walls, roofs, and floors. This is why thermal loss has become a central indicator in Energy Performance Certificates (EPC) and a mandatory starting point for any energy renovation project.
The primary sources of heat loss in a home
Not all surfaces contribute equally to a home’s thermal balance. The roof is the primary culprit: in a poorly insulated older home, it can be responsible for up to 30% of total heat loss, as warm air tends to rise and escape through the top if the attic is not properly insulated.
Walls come in second, generally accounting for between 20% and 25% of heat loss. Their large surface area makes them a massive source of loss whenever insulation is absent or insufficient, particularly in buildings constructed before modern thermal regulations.
Windows and joinery represent 10% to 15% of losses. Single-pane glass allows heat to escape much faster than high-performance double glazing, and worn or poorly fitted seals worsen the problem by creating cold air infiltrations.
The floor (whether over a crawl space, basement, or slab-on-grade) accounts for about 10% of losses—a factor often neglected because it is “out of sight.”
Finally, air exchange—through natural or mechanical ventilation and unwanted drafts—can represent a significant portion of heat loss, especially if the home lacks an efficient controlled ventilation system. Added to this are thermal bridges: specific points or lines where insulation continuity is broken (such as the junction between a wall and a floor, around a window frame, or where a wall meets a roof). These are responsible for 5% to 20% of total heat loss depending on the building’s configuration and often represent the most technical areas to treat correctly.
Detecting leak zones before taking action
Insulating without knowing where the real leaks are is like treating symptoms at random. The first step is always an Energy Performance Certificate (EPC), which provides a global view of the home’s thermal performance and prioritizes which areas to work on first.
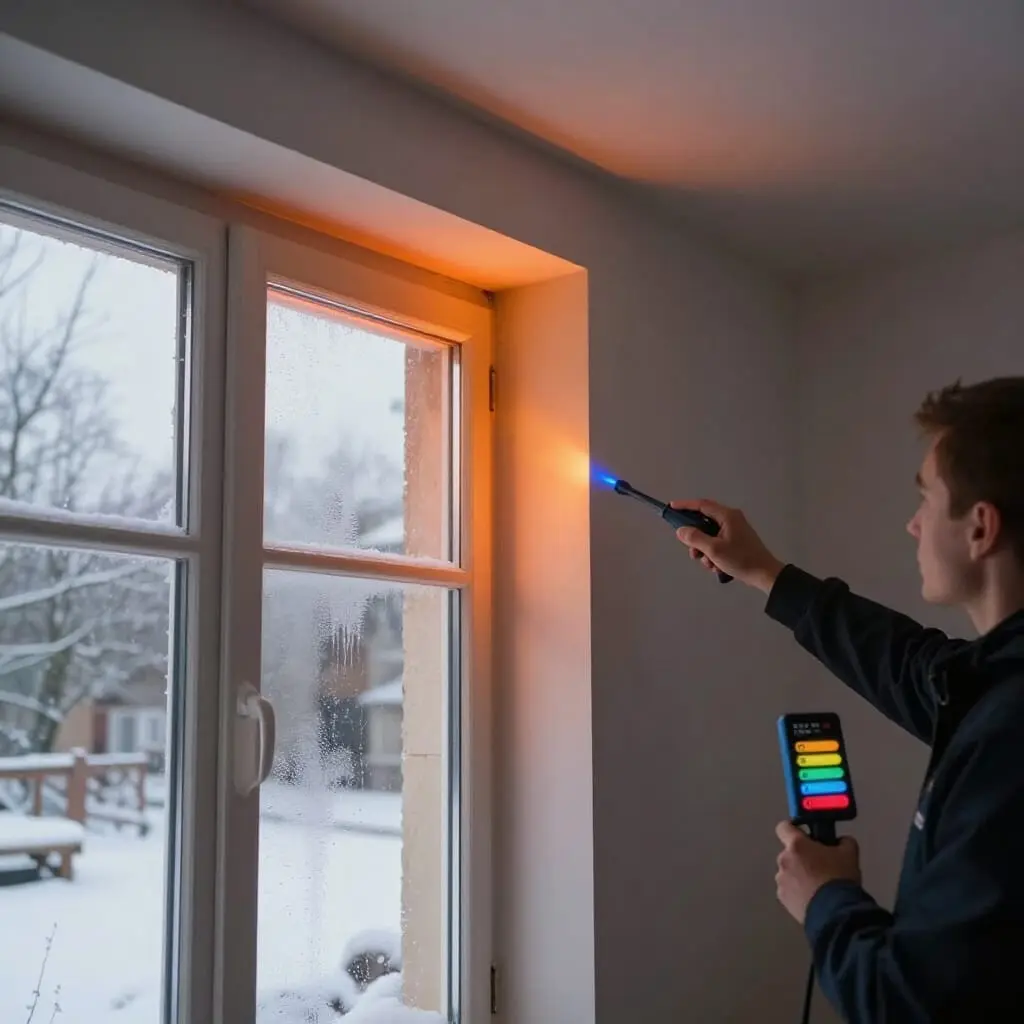
For a more detailed analysis, infrared thermography remains the professional gold standard. A thermal camera reveals temperature variations on surface walls and highlights thermal bridges invisible to the naked eye, such as a poorly insulated junction between a wall and a balcony slab. However, this technique requires a sufficient temperature difference between the interior and exterior (meaning it’s best done in cold weather) and requires careful interpretation of the results.
This is where smart home technology provides an accessible, everyday complement. Connected temperature and humidity sensors placed in various rooms allow you to continuously monitor variations and identify rooms that are abnormally cold or prone to drafts without waiting for a one-off professional diagnosis. Some models link to mobile apps that alert you to sudden temperature drops—a frequent sign of a leak or a window left ajar. Furthermore, portable thermal cameras that are now affordable and smartphone-compatible offer homeowners a quick visual check of “cold spots” before calling in a professional for confirmation.
Combining these tools with simple manual observation—placing your hand near an exterior electrical outlet, a window frame, or an attic access hatch during cold weather—can already provide great indications of priority insulation zones.
Insulating effectively: roofs, walls, floors, and windows
Once the leak zones are identified, insulation is the most effective lever for permanently reducing heat loss. Attics should be treated as a priority since they concentrate the largest share of losses in poorly insulated homes. Depending on whether the attic is “lost” (unusable) or converted, options include blowing in mineral wool or installing rigid panels between rafters, ensuring enough thickness to meet current thermal resistance requirements.
For walls, two approaches exist: Internal Wall Insulation (IWI), which is more economical but slightly reduces living space, and External Wall Insulation (EWI), which is more expensive but also addresses many thermal bridges by wrapping the building in a continuous layer. EWI is particularly relevant if you are already planning to renovate your building’s facade.
Windows and doors deserve specific attention: replacing single glazing with high-performance double glazing or replacing worn seals significantly reduces cold air infiltration and improves acoustic comfort. For tighter budgets, heat-blocking films or thick thermal curtains offer a temporary solution until a full window renovation can be undertaken.
Finally, floors can be insulated from below (in a crawl space or accessible basement) using insulating panels fixed to the underside of the slab—an intervention that is often simpler and less expensive than people imagine if access is already available.
Ventilation and air sealing: the often-forgotten duo
Insulating without rethinking ventilation can lead to humidity and air quality issues, while also allowing heat to escape through uncontrolled air exchange. A simple mechanical ventilation system extracts stale air continuously, but it also carries heat away with it. A Heat Recovery Ventilation (HRV) system—also known as a dual-flow system—is more expensive to install but recovers a portion of the heat from the extracted air to preheat the incoming fresh air, limiting loss while ensuring healthy air renewal.
The second, often neglected aspect is air sealing: unwanted drafts around exterior electrical outlets, duct passages, attic hatches, or poorly insulated roller shutter boxes create cold air leaks that are independent of the insulation’s performance. A blower door test can measure these leaks and target specific points to be treated with appropriate foams or sealing membranes.
From a smart home perspective, connected air quality and hygrometers allow you to verify that improved airtightness hasn’t degraded air renewal. An abnormally high humidity level in a bathroom or kitchen often signals insufficient ventilation following insulation work. These sensors, when paired with a smart, remotely controlled ventilation system, allow you to automatically adjust extraction rates based on the room and usage, preventing constant over-consumption.
Controlling heating with smart solutions
Reducing heat loss also involves better heating management, independent of physical insulation work. A smart thermostat allows you to program different temperature settings based on schedules and occupied rooms, preventing you from unnecessarily heating an empty house during the day. Some models actually “learn” the home’s thermal inertia and anticipate temperature rises before you arrive, rather than simply heating at full power continuously.
Smart thermostatic radiator valves (TRVs), installed on each radiator, allow you to individually control the temperature of every room via an app. A room that is rarely used can be kept at a lower temperature without daily manual intervention. This fine-tuning limits the waste caused by uniform heating throughout the entire house when actual needs vary significantly from room to room.
Smart shutters also play a role in fighting heat loss: programmed to close automatically at dusk, they add an extra insulating layer over windows—often the quickest thermal weak point to address without heavy construction. When paired with light or outdoor temperature sensors, they can also adjust in the summer to limit solar heat gain.
Finally, smart-monitored pipe insulation for heating networks (central heating pipes, hot water tanks) prevents invisible but real losses, especially in unheated basements or crawl spaces where pipes pass through cold zones without protection.
Financial aid for renovation projects
Insulation work represents an investment, but various programs can help reduce the out-of-pocket costs depending on your household income and the type of housing. While specific programs vary by region (such as government grants, energy efficiency tax credits, or zero-interest loans), they can often be combined under certain conditions. Because amounts and eligibility criteria change regularly, it is best to check your specific eligibility with a local energy advisor or an official simulator before starting work. Furthermore, having the work performed by a certified professional is almost always a requirement to qualify for these incentives.
What is the first area to insulate to limit heat loss?
The roof is generally the top priority, as it can account for up to 30% of heat loss in a poorly insulated home and is often one of the fastest projects to provide a return on investment.
How can I tell if my home has significant thermal losses?
A poor Energy Performance Certificate (EPC) rating, high heating bills despite moderate usage, walls that feel cold to the touch, or drafts near windows are typical signs, which can be confirmed by infrared thermography or connected temperature sensors.
What is a thermal bridge and why should it be treated?
A thermal bridge is an area where insulation continuity is broken, such as the junction between a wall and a floor. These weak points can cause 5% to 20% of total heat loss and can lead to condensation or mold if left untreated.
Is a connected thermal camera enough to diagnose heat loss?
It provides a useful first visual of cold spots, but interpretation can be tricky without training. A professional diagnostic or a blower door test provides a much more reliable assessment before committing to major work.
Does a smart thermostat really reduce heat loss?
It doesn’t reduce physical leaks through the walls, but it limits energy waste by preventing unnecessary heating, which lowers your bill even in a home that isn’t fully insulated yet.
Should I insulate before or after reviewing my ventilation?
Both should be considered together: insulating without adjusting ventilation can create humidity problems, while a high-performance ventilation system already limits a portion of the air exchange responsible for heat loss.
Is replacing windows enough to eliminate thermal loss?
No, windows typically represent only 10% to 15% of losses on average. They must be accompanied by roof and wall insulation and the treatment of thermal bridges to achieve a significant overall result.
Sources
- Thermal loss: where is the heat escaping from your home? — Izi by EDF Rénov
- Thermal loss: explanations and solutions — Thermor
- Thermal bridge: definition, types, and consequences — Ootravaux
- Reducing heat loss in an old house — SP-Bâtiment

D'autres conseils Energy-Efficient Renovation
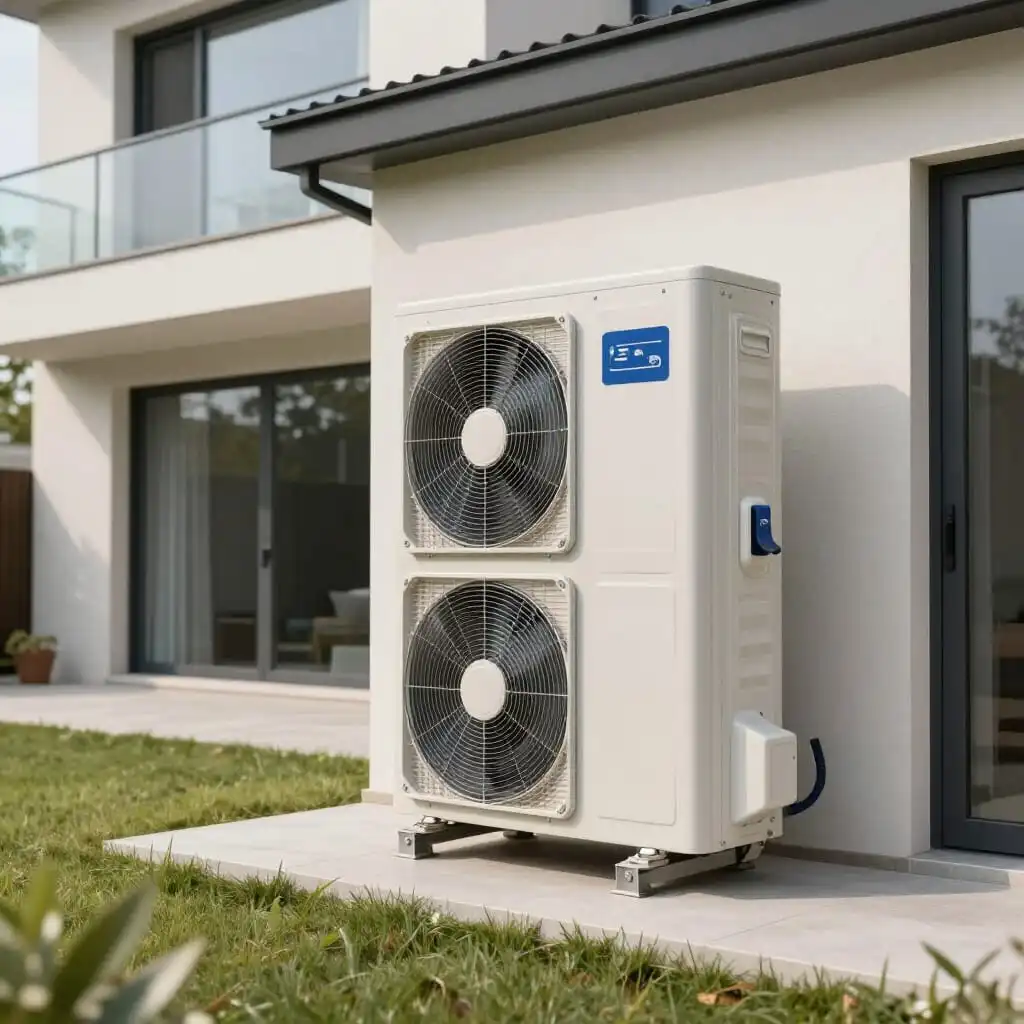 →
Heat Pump Guide: Costs, Grants & Installation Tips
Everything you need to know about heat pumps: how they work, costs (€4,200–€25,000), available subsidies, and how to choose the right model for your…
Lire l'article → →
Prioritize Renovation Projects by Budget | Practical Guide
Learn how to prioritize home renovation projects based on your budget. Use these 4 essential criteria to plan effectively and avoid costly mistakes.
Lire l'article →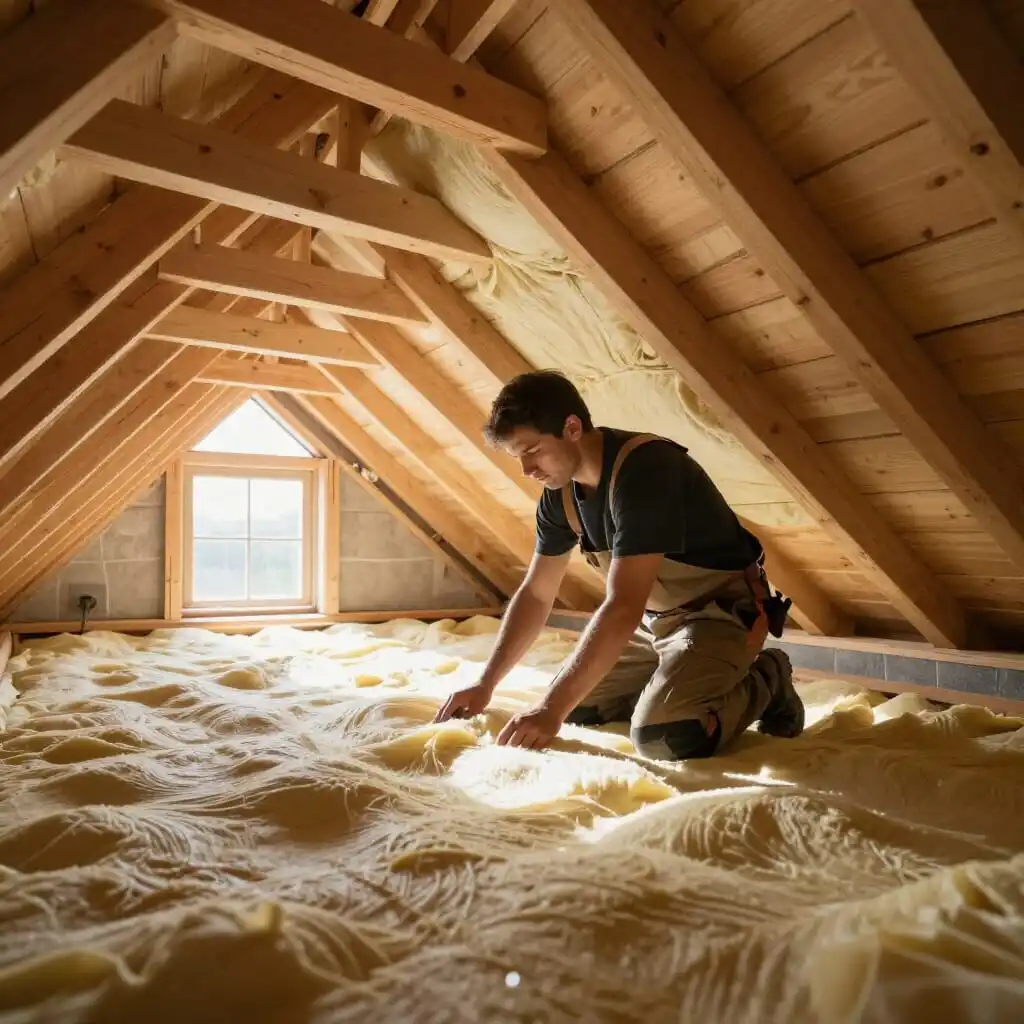 →
Attic Insulation: Why It’s Your #1 Renovation Priority
Learn why attic insulation is a top priority: up to 30% of heat escapes through the roof. 4-7 year ROI. Discover how to save…
Lire l'article → →
Insulation and Humidity: 5 Critical Mistakes to Avoid
Avoid common insulation and humidity mistakes: faulty vapor barriers, poor ventilation, and untreated dampness. Expert tips for a successful renovation.
Lire l'article →